Here’s my top 3 recommendations when it comes to DIY equipment, plus some training commentary on each…
- Sandbag
- Pull Up Bar
- Dumbbell / Barbell
I keep coming back to strongman style of training in these articles because this is where it really shines! Everything you see today in strongman competitions started with homemade equipment! A bunch of dudes in garages and basements, making weird things to train with.
To us, a sandbag is not an unusual training tool. In fact, it’s the most logical starting place for odd object training. It’s easy to make. The weight is adjustable. The materials are cheap and easily obtained. There’s also a lot of ways to train with a sandbag.
But why train with a sandbag? Brooks Kubik says it better than me…
“…the bags worked your body in ways that you could not approach with barbells alone. You got into muscle areas you normally don’t work. You worked the heck out of your stabilizers. […] The stabilizers are extremely important for athletes and those who are involved in hand-to-hand combat. A wrestling opponent or an opposing lineman doesn’t stand still and let you toss him around like you toss a barbell around. He works against you. He makes your move from awkward angles and unbalanced positions. He makes you push or pull with your arms extended at different lengths. […] And everything you push and or pull against will be unbalanced and uneven, fluid and dynamic.”
Here’s what you need to make a sandbag:
Materials
- 2 – army surplus duffel bags (heavy canvas top loading)
- 4 – 50lb bags of pea gravel
- Duct tape
- Contractor bags (optional)
Steps
First cut off all of the extra straps and handles off of your duffel bags – you won’t be using them, and they could be dangerous.
Fill one of the bags with the desired amount of pea gravel (we’re using that instead of sand to cut down on dust).
Seal the bag shut with ample duct tape. Keep in mind that the looser the bag is, the more difficult it will be to lift. I recommend having the bag tight enough so that the gravel must remain “together”. You don’t want the bag so loose that the medium can double over itself.
Double bag it and load it top-to-bottom. Put the second bag over the loaded bag so that the openings are on opposite ends.
If you would like to make “loading weights” for your sandbag you can load smaller contractor bags and put them inside the second bag. This way you’ll have a base weight (say 150lbs) and 5 – 10lb loading weights that you can just toss into your second bag. If you’re using contractor bags for these loading weights, definitely double bag, and I’d recommend keeping them under 15lbs. Otherwise they will break open. [To be honest, if you train hard enough and long enough, this is almost inevitable anyway.]
Training
How should you train with a sandbag?
First start by lifting it.
- 5 deadlifts
- 5 chests
- 5 shoulders
- 5 overhead presses
If you’re using something even remotely close to your bodyweight, it’s likely to take a while before you can do the above. Spend some time doing carries. Try this (inspired by Dan John)…
Carry the bag as far *away* as you can for 10 minutes. Now carry it back.
Note the emphasis on the word away. Carrying it back and forth or in a circle make its it too easy to quit. Record your mark your distance and record your time and do it better next time. Do not underestimate the effectiveness of this!
#2 Pull Up bar
I don’t need to re-write how great pull ups are, how and why you should do them. I also don’t need to write about how to make one. Here’s a video instead – https://youtu.be/x3ncdBGnTXU
#3 Concrete dumbbell / barbell
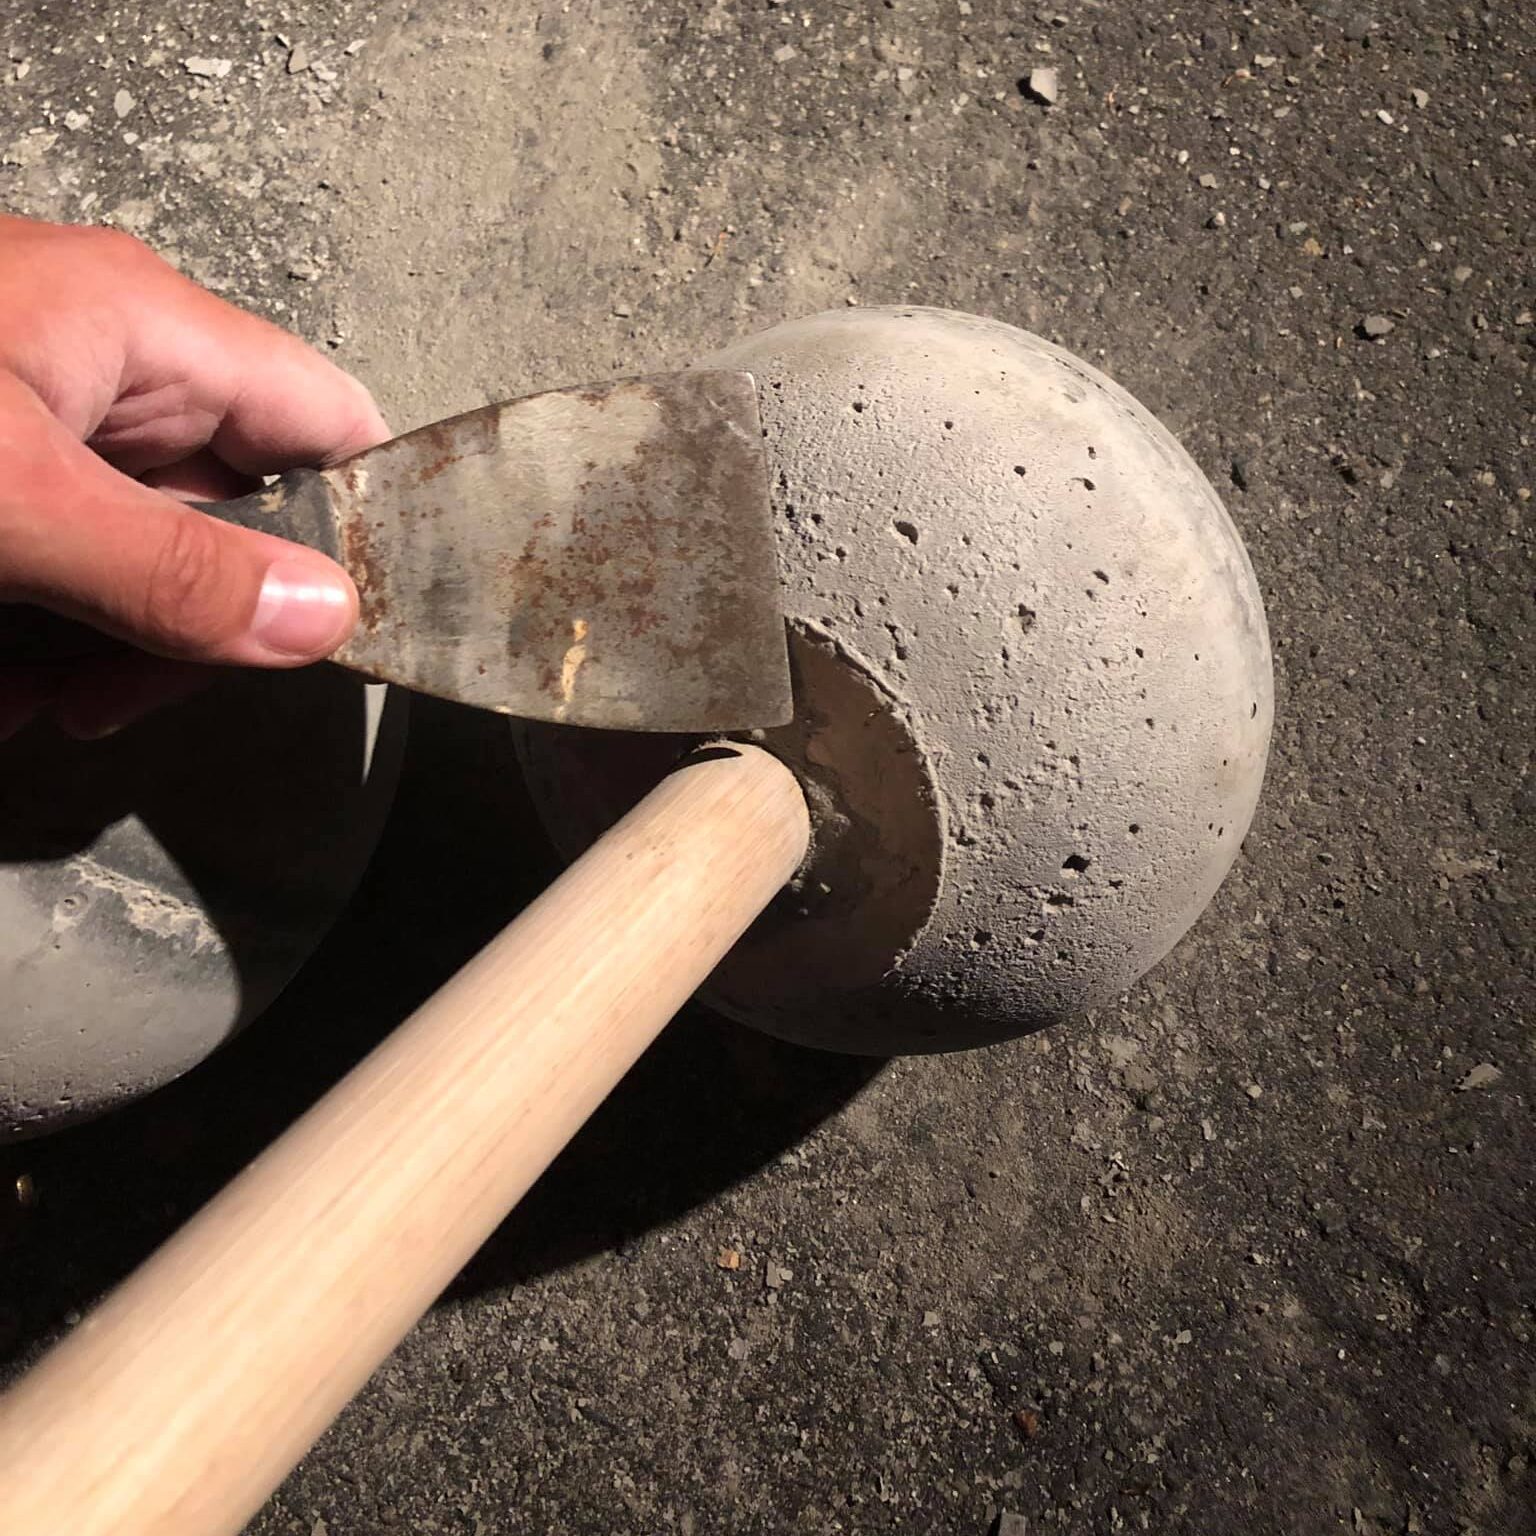
I’m going with a dumbbell / barbell as my 3rd recommendation for a DIY equipment. Why? Because not much has been written on it. Everybody talks about sandbags, pull up bars, suspension trainers, ab gadgets, weighted vests/rucks, etc. Nobody talks about making barbells out of steel and concrete.Plus I like lifting ‘dem bells… so that’s why it’s my #3.To be honest, I’ve never made a dumbbell/barbell the way I’m going to describe. I’ve always had real barbells so there was no need for that. But I’ve done something similar with a macebell / gada. Just do the same thing but use clay pots instead.
Summary
That’s my top 3 DIY Equipment. This article is more meant to inspire creativity and training than it is to lay claim of the best equipment or programming knowledge. The truth is that you don’t need any of this. As we discussed in previous articles it’s less important what you have to train with, and more important that you simply continue to train. If one of these DIY equipment pieces would inspire you to train more, then you should go ahead and make it. If you like something else better, you should make that! The point is, if you don’t have any equipment, that’s no excuse. You can DIY equipment, you can do bodyweight only, or you can lift rocks. If that hasn’t put your excuses to bed, than you can kick rocks!
